In this post I will show you my step-by-step process for fabricating a quick Krampus mask from ordinary household items.
First you will see a video of the whole process, then I will break it down into six steps. Check out my original reel on Instagram and follow me for more dark art, comics, and DIY Art projects like this!
Step 0. Gather your materials
Before you begin, make sure to gather your tools and materials. This project uses cheap materials, that would otherwise be recycled, and that should be available in most households.
Materials:
- Cardboard from a long, flat box. (Any cardboard will work really)
- Brown Paper – Either paper bags or the packing paper used in shipping. Any paper will work.
- Pencil or Marker
- Hot Glue Gun – Kids be careful and always ask an adult for help when using
- Box Cutter – Kids be careful and always ask an adult for help when using
- Scissors
Step 1. Form the basic shape
Using a long flat cardboard box, I glued the side flaps at an angle. The top angled portion will become the horns/forehead of the Krampus. This will be easier to visualize in the next step.

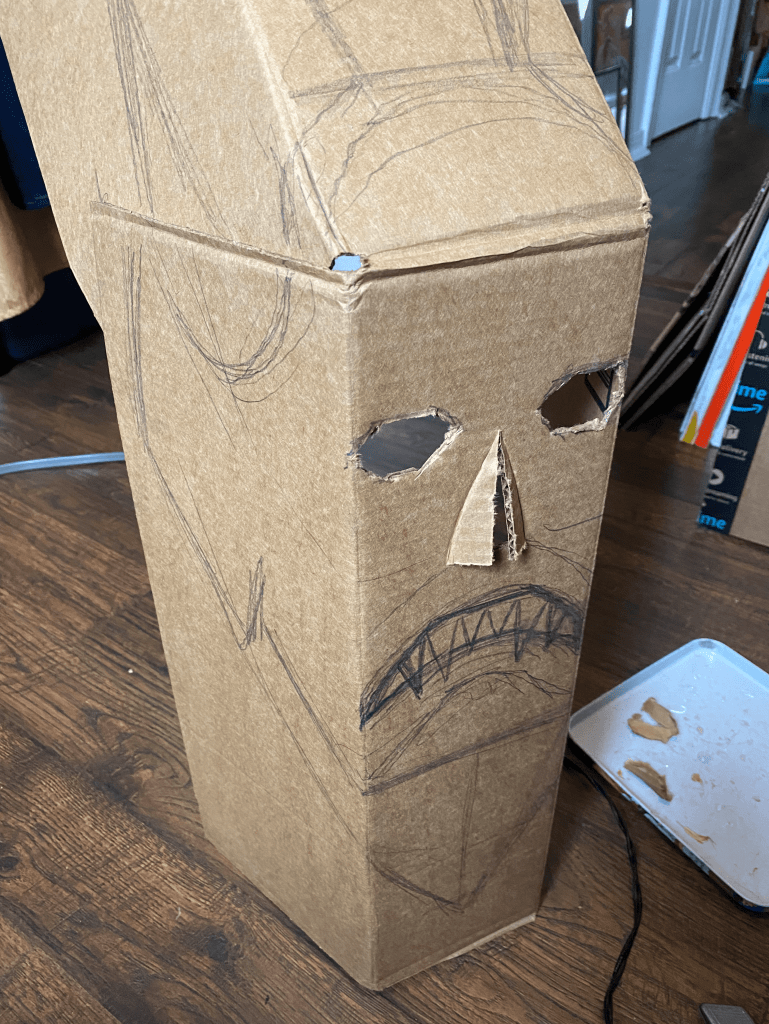
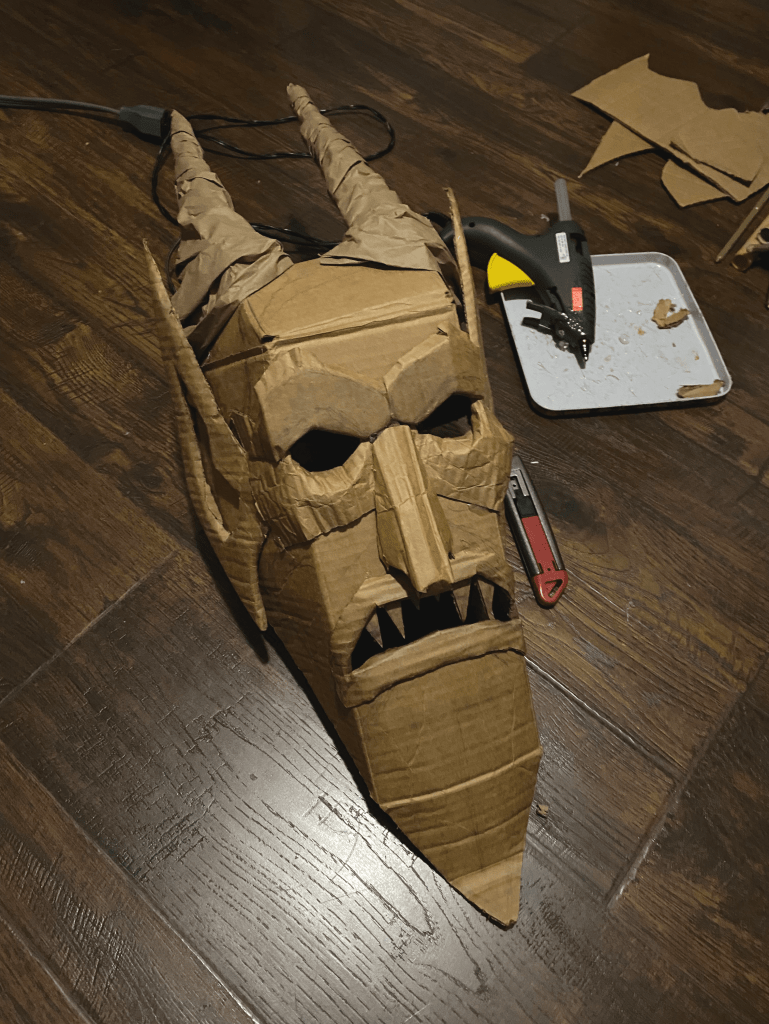
Step 2. Sketch out Features
Using your pencil, sketch out the features you will want on your mask. Place the cardboard on your head to find the locations of the eyes and nose holes. Cut the eye holes out and check. Adjust as necessary. Slice a vertical line down the center of the nose, cut along the bottom edge and fold the cardboard out.
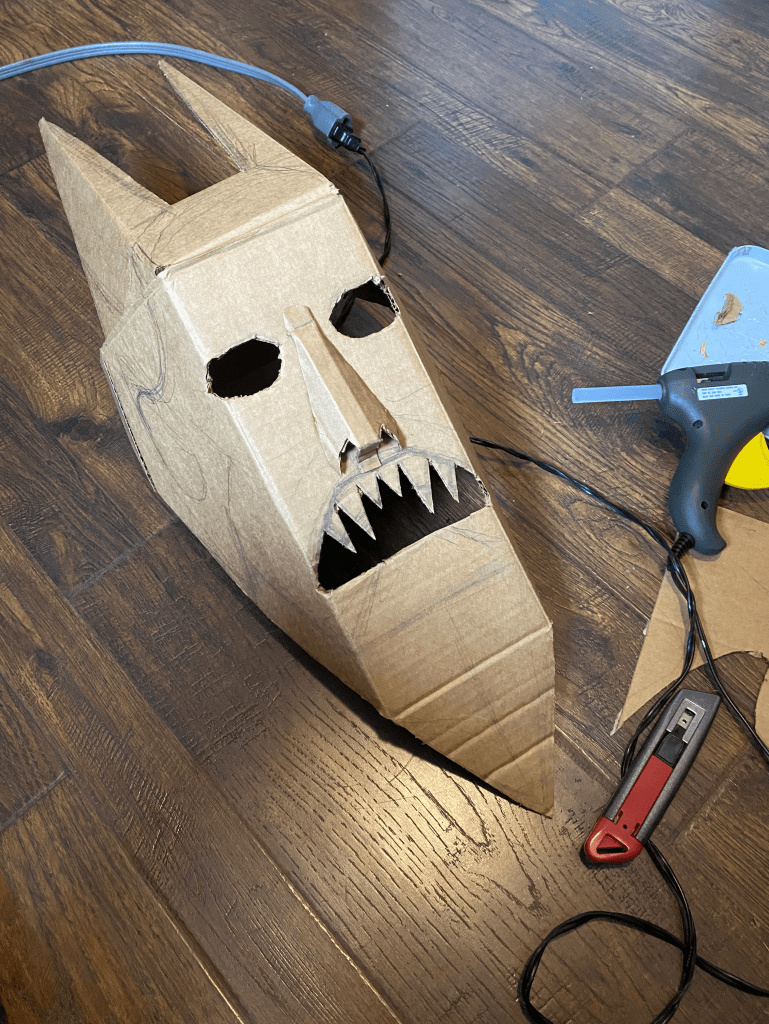
Step 4. cut out remaining Features
Cut out the mouth and teeth carefully. Cut out the horns. I scored the cardboard along the edge of the horns (not cutting all the way through) and bent around to give the horns a third face. It makes the horns sturdier and gives another surface to glue the finished paper onto later.
I forgot to take a picture, but below is a sketch of how the back of the mask was formed. There are two straps of cardboard that hold the mask on my head.

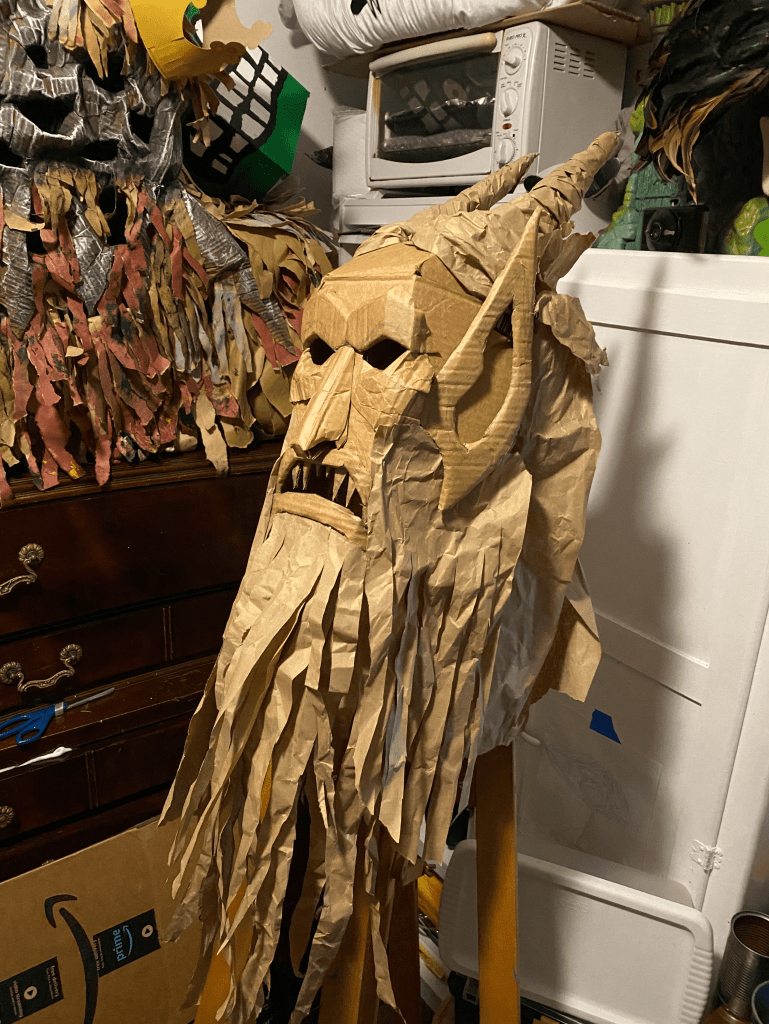
Step 5. add 3d elements
Using scraps of cardboard, form the features like ears, eye sockets, and lips for your Krampus. I crumple the cardboard a bit to make it pliable and to give it more of an organic shape. Use long strips of crumpled paper to wrap the horns starting at the bottom and gluing along the way in a spiral.
Step 6. finish adding paper hair
Next, begin adding sheets of paper for the wild hair, starting at the lowest parts and working up. This is important, like shingling a roof, you will cover the lower layers as you move up. You can add larger sheets and cut into thinner strips later.
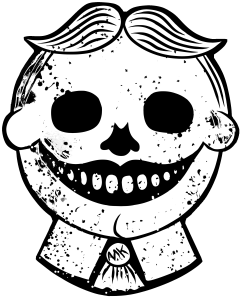
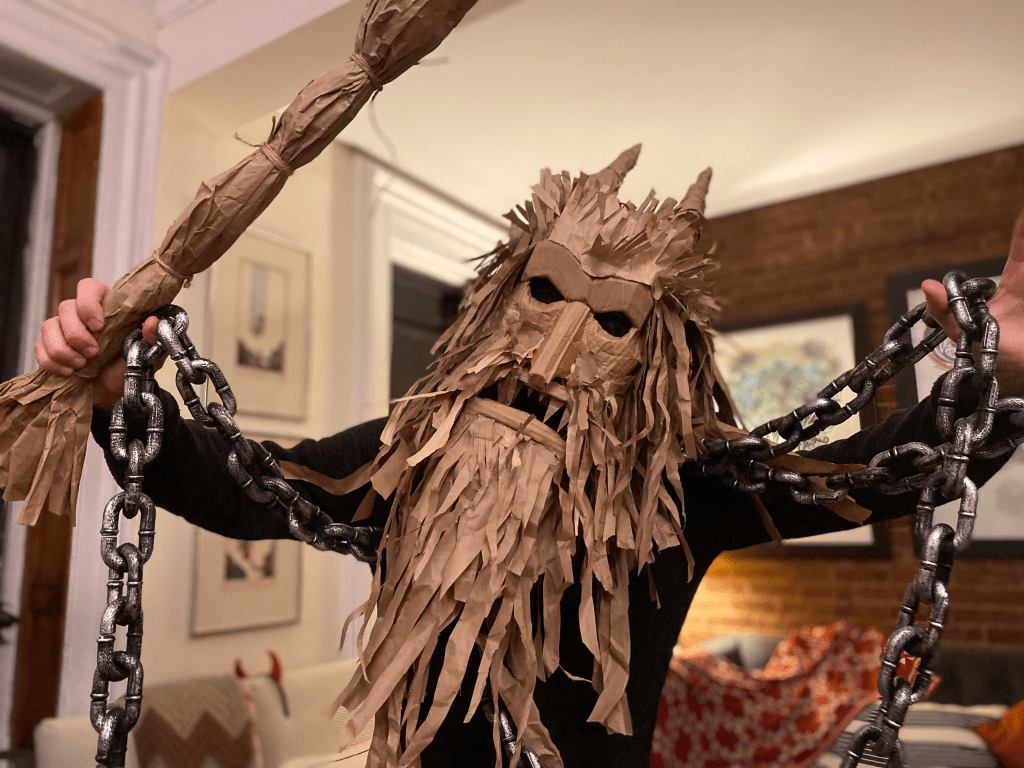
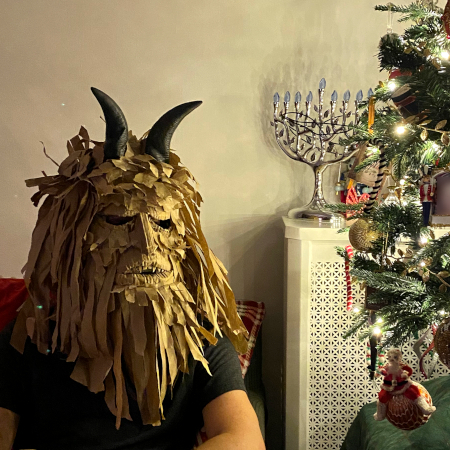
final product
After working your way to the top of the head, ruffle the paper and make it a little wild and crazy. You are done making your Krampus mask! Congratulations!

Now get out there and make Krampus proud!

File under: Handmade Krampus Costume, Recycled cardboard mask, Krampusmasken, Krampus Mask, Krampus Walk, Krampus Parade
